HTML attributes are an essential part of web development, providing additional information about HTML elements that define their characteristics, properties, presentation, and functionality on a webpage. In this guide, we will dive into the purpose of HTML attributes, their syntax, common examples, and how to use them effectively to build robust web pages. For a deeper understanding of HTML itself, consider reading What is HTML? A Comprehensive Guide.
What are HTML Attributes?
HTML attributes are modifiers of HTML elements that provide extra information about those elements. They help define behavior, appearance, or the data of HTML elements. Attributes are always specified in the opening tag of an element and are generally written as name-value pairs. Without attributes, HTML elements are quite basic. By using attributes, you can add specific details and functionality to make a webpage more interactive, accessible, and informative.
Example:
<a href="https://dotnetteach.com/blog">Visit blog </a>
In this example, href is an attribute of the <a> (anchor) tag. It defines the URL to which the link should point. Attributes like href allow you to give functionality to an otherwise plain HTML element, essentially breathing life into your web page.
Common HTML Attributes
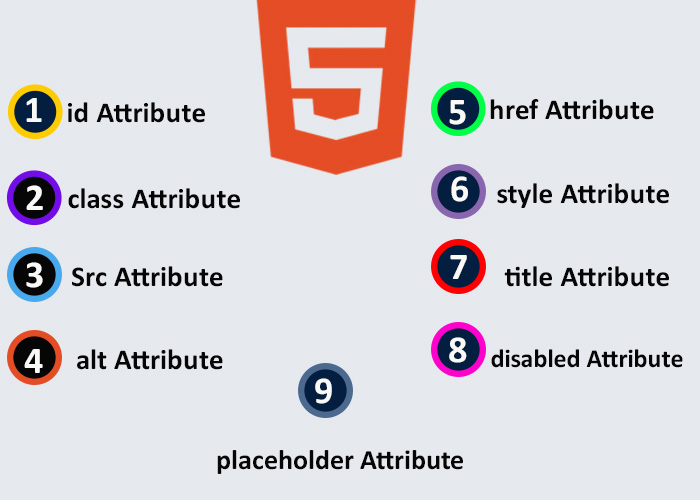
1. id Attribute
The id attribute is used to uniquely identify an HTML element. It is often used to target an element with CSS or JavaScript, especially when precise control is needed. For example, using id is preferable when you want to manipulate a specific element directly without affecting other similar elements, making it very efficient for JavaScript interactions and styling unique parts of your webpage. The unique identifier makes it possible to apply specific styles or behaviors to that element alone, which is useful when you want to distinguish it from others on the page.
Example:
<p id="intro">Welcome to our HTML tutorial.</p>In this example, the paragraph element has an id of "intro". This unique identifier can be used in CSS to style this specific paragraph or in JavaScript to manipulate it.
CSS Example:
#intro {
  color: green;
  font-size: 20px;
}
JavaScript Example:
document.getElementById("intro").innerHTML = "Hello, world!";2. class Attribute
The class attribute is used to group elements so they can be styled or manipulated together. Unlike id, which must be unique, multiple elements can share the same class. This is particularly beneficial when you need to style similar elements consistently, such as buttons across your website that all need the same look and feel. This makes the class attribute a powerful tool when you need to apply the same styles or behaviors to multiple elements at once.
Example:
<p class="highlight">This text is highlighted.</p>
<p class="highlight">This text is also highlighted.</p>
Here, both paragraphs have the class "highlight". You can use CSS to style both of these paragraphs in the same way:
.highlight {
  color: blue;
  font-weight: bold;
}
JavaScript Example:
const elements = document.getElementsByClassName("highlight");
for (let element of elements) {
  element.style.backgroundColor = "yellow";
}
3. src Attribute
The src attribute is used to specify the source URL for embedded content, like images or videos. It tells the browser where to find the resource, which is crucial for displaying multimedia content.
Example:
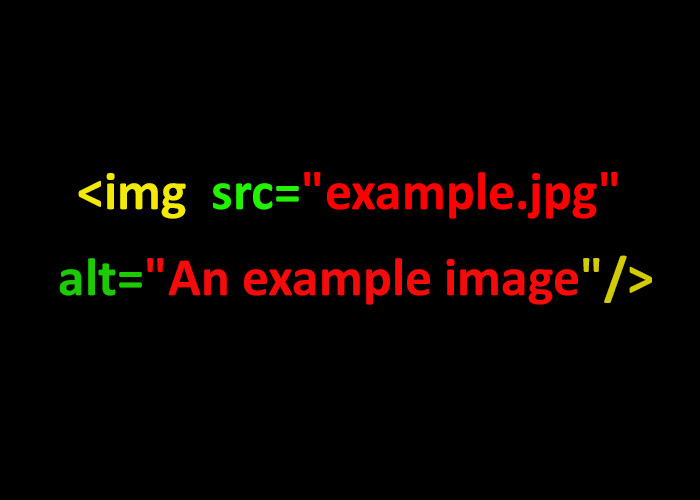
<img src="image.jpg" alt="A beautiful scenery">In this example, src specifies the path to the image file. The alt attribute provides alternative text if the image cannot be displayed, enhancing accessibility.
4. alt Attribute
The alt attribute is specifically used with the <img> tag to provide a textual description of the image. This is crucial for accessibility and SEO, as it helps search engines understand the content of an image and allows screen readers to describe the image to visually impaired users.
Example:
<img src="imag/photo.jpg" alt="programer">Providing an informative alt text can improve user experience and also contribute to better search engine rankings, as it makes your website more accessible.

5. href Attribute
The href attribute is used with the <a> tag to specify the URL of the page the link goes to. This attribute is one of the most common and is essential for creating navigation between pages.
Example:
<a href="https://dotnetteach.com">Learn more about .NET development</a>The href attribute links the anchor tag to a specific location, making it a core part of building interactive and linked web experiences.

6. style Attribute
The style attribute allows you to add inline CSS to an element for quick styling. While not ideal for large projects, inline styling can be useful for quick changes or when you need to override existing styles.
Example:
<p style="color: red; font-size: 16px;">This text is styled using the style attribute.</p>However, it's recommended to keep styling separate in CSS files for maintainability and reusability, especially in larger projects. This practice reduces redundancy, improves code readability, and makes it easier to make changes across multiple pages.
7. title Attribute
The title attribute provides additional information about an element. When the user hovers over the element, the information appears as a tooltip, which can enhance user experience by providing helpful hints or extra information.
Example:
<p title="This is a tooltip">Hover over this text to see the tooltip.</p>Tooltips are often used to clarify abbreviations, offer additional instructions, or provide contextual information.

8. disabled Attribute
The disabled attribute is used with form elements to make them inactive or unclickable. This attribute is often used to prevent users from interacting with certain elements until a condition is met, improving form usability and reducing errors.
Example:
<button disabled>Submit</button>In this example, the button is not clickable due to the disabled attribute, which is particularly useful in form validation scenarios where a button should be inactive until the user fills in all required fields.
9. placeholder Attribute
The placeholder attribute is used in form input fields to display a hint to the user regarding the expected input. It provides a visual cue to help users understand what kind of information they need to enter.
Example:
<input type="text" placeholder="Enter your name">This will display a hint inside the input box until the user starts typing, which helps improve the usability of forms by guiding users.
Example of HTML Attributes in Action
Below is an example of how various attributes can be used together in an HTML form:
<!DOCTYPE html>
<html lang="en">
<head>
  <meta charset="UTF-8">
  <meta name="viewport" content="width=device-width, initial-scale=1.0">
  <title>HTML Attributes Example</title>
  <link rel="stylesheet" href="styles.css">
</head>
<body>
  <h1>Sign Up Form</h1>
  <form>
    <label for="username">Username:</label>
    <input type="text" id="username" name="username" placeholder="Enter your username" required><br><br>

    <label for="email">Email:</label>
    <input type="email" id="email" name="email" placeholder="Enter your email" required><br><br>

    <label for="age">Age:</label>
    <input type="number" id="age" name="age" placeholder="Enter your age" min="18" max="100"><br><br>

    <button type="submit">Submit</button>
  </form>
</body>
</html>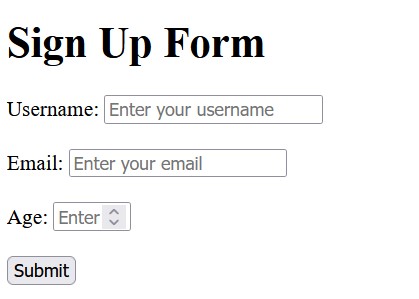
In this example, multiple attributes such as id, name, placeholder, and required are used to create a functional form. These attributes add context, enhance user experience, and make form handling more efficient. The min and max attributes for the age input also help ensure that the data entered is within a valid range, reducing errors.
Conclusion
HTML attributes are fundamental to building a functional and interactive webpage. They provide extra information about elements, making your website more dynamic and user-friendly. From setting the destination of a link to giving unique identifiers for styling, attributes are versatile tools that every web developer should master. Knowing how to effectively use HTML attributes will improve your ability to create efficient, accessible, and interactive web content.
For more foundational information about HTML, be sure to visit our detailed article on What is HTML? A Comprehensive Guide.
